|
Lesson One: Microsoft Word for Windows
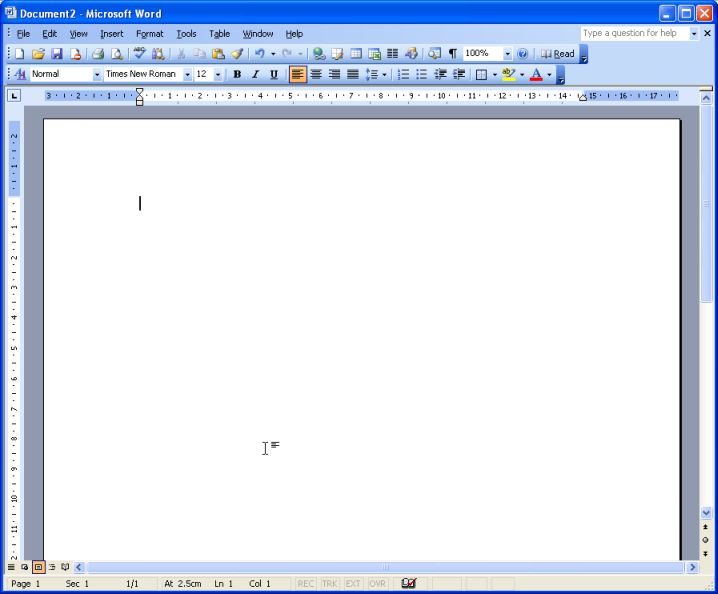
This tutorial teaches Microsoft Word basics. Although knowledge of how to navigate in a Windows environment is helpful, this tutorial was created for the computer novice. To begin, open Microsoft Word. The following screen will appear.
The Title Bar

This lesson will familiarize you with the Microsoft Word screen. We will start with the Title bar, which is located at the very top of the screen. On the Title bar, Microsoft Word displays the name of the document you are currently using. At the top of your screen, you should see name of document (Document2 in this case).
The Menu Bar

The Menu bar is directly below the Title bar and it displays the menu. The menu begins with the word File and continues with Edit, View, Insert, Format, Tools, Table, Window, and Help. You use the menu to give instructions to the software. Point with your mouse to the menu option and click the left mouse button to open a drop-down menu. You can now use the left and right arrow keys on your keyboard to move left and right across the Menu bar options. You can use the up and down arrow keys to move up and down the drop-down menu. To select an option, highlight the item on the drop-down menu and press Enter. An ellipse after a menu item signifies additional options; if you select that option, a dialog box will appear.
Exercise 1
Do the following exercise. It demonstrates using the Microsoft Word menu.
- Point to the word File on the Menu bar.
- Click your left mouse button.
- Press the right arrow key until Help is highlighted.
- Press the left arrow key until Format is highlighted.
- Press the down arrow key until Style is highlighted.
- Press the up arrow key until Paragraph is highlighted.
- Press Enter to select the Paragraph menu option.
- Point to Cancel and click the left mouse button to close the dialog box.
Toolbars

The Standard Toolbar

The Formatting Toolbar
Toolbars provide shortcuts to menu commands. Toolbars are generally located just below the Menu bar. Before proceeding with the lesson, make sure the Toolbars we will use -- Standard and Formatting -- are available. Follow these steps:
- Point to View on the Menu bar.
- Click the left mouse button.
- Press the down arrow key until Toolbars is highlighted.
- Press Enter.
- Standard and Formatting should have a checkmark next to them.
- If both Standard and Formatting have a checkmark next to them, press Esc three times to close the menu.
- If one or both do not have a checkmark, highlight Customize.
- Press Enter.
- Point to the box next to the unchecked word and click the left mouse button. A checkmark should appear.
Note: You turn the checkmark on and off by clicking the left mouse button.
- Point to Close and click the left mouse button to close the dialog box.
The Ruler

The ruler is generally found below the main toolbars. The ruler is used to change the format of your document quickly. To display the ruler:
- Point to View on the Menu bar.
- Click your left mouse button.
- The option Ruler should have a checkmark next to it. If it has a checkmark next to it, press Esc twice to close the menu. If it does not have a checkmark next to it, continue to the next step.
- Press the down arrow key until Ruler is highlighted.
- Press the Enter key. The ruler should display below the toolbars.
Document View
With word, you can display your document in one of five views: Normal, Outline, Page Layout, or Online Layout.
- Normal view
- Normal view is the most often used and shows such formatting as line spacing, font, point size, and italics. Multiple-column text is displayed in one continuous column.
- Web Layout view
- The Web Layout view optimizes the document for online viewing (viewing the document in a browser).
-
-
- Print Layout view
- The Print Layout view shows the document as it will look when it is printed.
-
-
- Reading Layout view
- The Reading Layout view shows the document as book. It shows two pages on the screen.
-
-
- Outline view
- Outline view displays the document in outline form. Headings can be displayed without the text. A heading can be moved and the accompanying text moved with it.
Before moving ahead, check to make sure you are in Normal view:
- Point to View on the Menu bar.
- Click the left mouse button.
- The icon next to Normal should be depressed. If the icon next to normal is depressed, press Esc twice to close the menu. If the icon next to Normal is not depressed, continue on to the next step.
- Highlight Normal.
- Press Enter. You should now be in Normal view.
Text Area
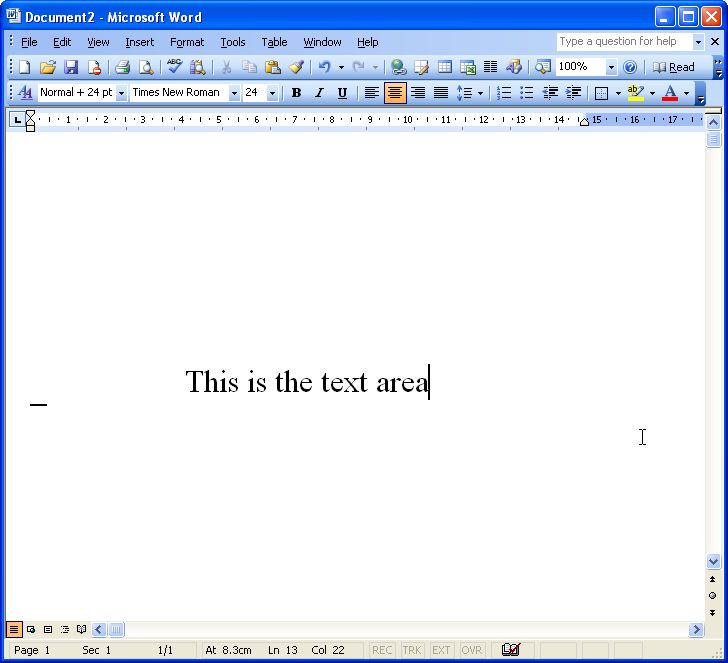
Just below the ruler is a large area called the "text area." You type your document in the text area. The blinking vertical line in the upper left corner of the text area is the cursor. It marks the insertion point. As you type, your work will show at the cursor location. The horizontal line next to the cursor marks the end of the document.
Exiting Word
You have completed Lesson One. Typically you would save your work before exiting. This lesson did not require you to enter any information. Without text in the text area, there is nothing to save. To exit Word:
- Click on File.
- Highlight Exit, which can be found at the bottom of the drop-down menu.
- Press Enter.
- If you have entered text, you will be prompted: "Do you want to save changes to Document1?" To save your changes, click on Yes. Otherwise, click on No.
- Specify the correct folder in the Save In box.
- Name your file by typing lesson1.doc in the File Name field.
- Click on Save.
Demonstrative and Interactive Lessons:
Microsoft Word Introducing - Demonstrative Lesson
Microsoft Word Introducing - Interactive Lesson
|